Wednesday, 1 March 2023

A Little Slow Stitching

I've recently finished sewing this small wall hanging in raw-edge applique and stitch, and I'm pretty pleased with it. It's been so nice to work with jolly, bright colours while the days are still short and the weather is dull.


It measures approximately 9" x 11" finished.

I started by drawing the design on some paper, traced the flower shapes onto freezer paper, cut out the shapes, ironed them onto the right side of my chosen fabrics and cut them out. I only cut out the biggest 'circles' of the large flowers and just roughly cut the edge off these paper patterns for the smaller 'circles' as I went.

I sewed the stripey blue background fabric to some wadding with free motion machine quilting and marked the flower positions and stalks with a frixion pen, using my paper design and a light box.

I sewed the stalks of the large flowers first using a folded strip of fabric held in place with green thread across it.

Then I did the large flower top left sewing the fabric down with whatever stitches took my fancy.


Next came the yellow flower at top right, which I sewed into position with matching thread, leaving the finishing touches until later as I was excited to do big flower no.2 in the centre.


I really like the way the white dots on the green fabric show through the stitches.

After this I attached the final two yellow flowers and couched down some thick cotton thread in green for the stems. The red stitch across the top of the flowers is fly stitch.


A bit more embroidery to the yellow flowers before I sewed some brown background stalks with whipped running stitch and more fly stitch.

My picture is framed with a narrow flange of bright orange, a wide plain green border and brown binding.


In this photo you can see the stem of a large flower.

It makes me smile every time I see it - what more can you ask?!

Happy stitching

Anita x


Monday, 30 January 2023

Birds

This past weekend it has been the RSPB Big Garden Birdwatch here in the UK and it's been a pleasure to have the excuse to peer out the windows and count the birds who come to the garden and the bird table. There have been lots and lots - I do love them so.

Just lately I've finished two quilted pictures which include birds. They were inspired by paintings that I saw on Pinterest which is a great source of ideas for me.


The first that I made is on the left and I tried to improve a few things, particularly the method of making, when I sewed the second. I didn't like the hand quilting of the first as I thought that it distracted from the applique. There is only one thing that I like more about the first picture! 

When I'm about to start a new project it's sometimes difficult to think just where to begin so I thought I would share my method with you. This is the method that I used for the second bird picture:

I drew my picture onto paper and transferred it, in reverse, onto sturdy calico, using a light box.

I sewed a raw edged background, in various blue rectangular fabric scraps, onto some pale blue striped fabric laid onto the undrawn side of the calico. I stitched these down by machine, sewing around the uncovered raw edges. I used the pale blue striped fabric underneath so that it didn't matter if there were gaps between my rectangles.

Next I sewed on the tree branches, placing brown fabric onto the blue background, and using my light box to get the positions of each one right. I sewed with a small straight stitch, from the back along the drawn lines on the calico. I trimmed each branch as close as I could to the stitches. I then used a machine blanket stitch to secure them, with light thread on one side of the branch and dark on the other. (This is what I don't like in the second bird picture and I'd rather that I'd used a zigzag stitch as I did in the first picture.)

I laid green fabric on the blue background in the position of a leaf, again using the light box to aid me. I sewed the leaf shape from the back of the picture by machine, with small straight stitches. I trimmed off the spare fabric close to the stitches and then used machine blanket stitch to secure.


After marking the position of the flowers and the birds on the front, I laid my work onto some wadding and free motion stitched between the leaves and branches.

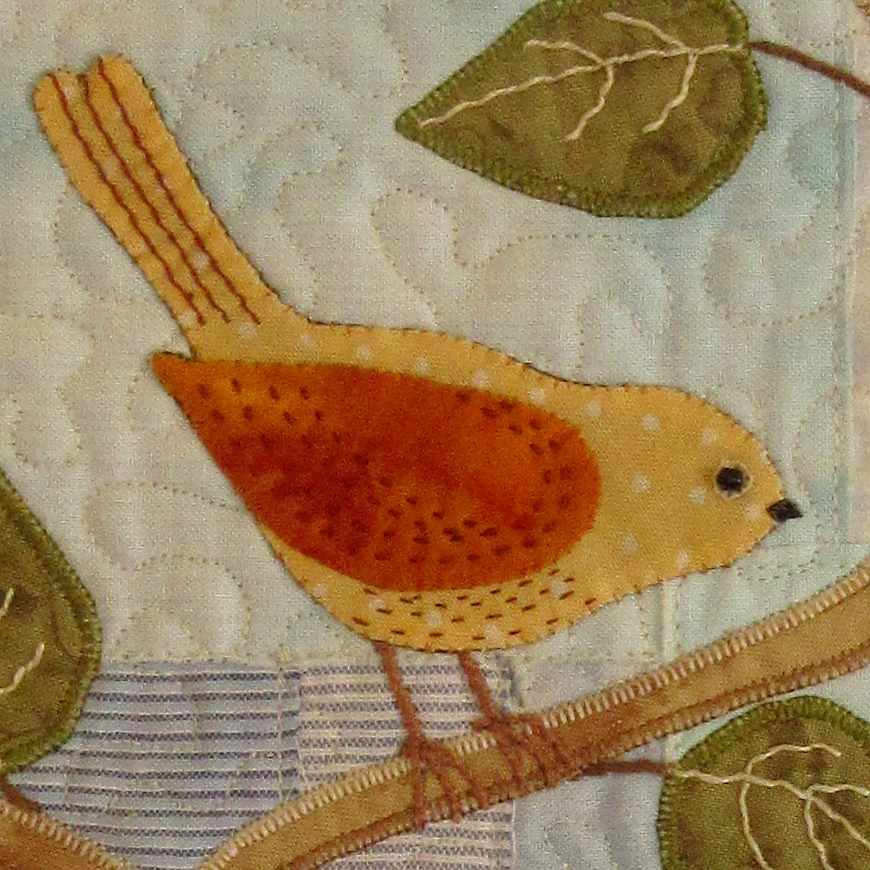
I had already sewn the birds onto a thin piece of fabric with needle turned applique, and embroidered the wings, tail and breast. Now I could easily cut them out with a seam allowance of the thin fabric which I turned under as I sewed them into position. I embroidered a beak, legs and added a bead eye.


I embroidered the leaves and their stalks. For stalks I usually sew a small running stitch which I then whip with the same thread. I drew all the little flowers onto the backing paper of some Steam a Seam, laid this on the back of cream fabric, cut them out and ironed them down into position. I did a little stitch at the edge of each petal and tiny french knots in the centre of each flower, and sewed their stalks.


Just a backing fabric and binding left to do, with little triangles in the corners on the back to hold a hanging stick.


These are the close up pics from my first picture - leaves, a bird and berries.


For the berries I ironed stabilizer onto the back of red fabric and my husband punched out the circles with his hole punch! I sewed them in place with stitches radiating from the centre.

These two were lovely to do and they hang in my kitchen. They may yet be joined by another!

Happy stitching - Anita x


Wednesday, 24 August 2022

In the Tree / Under the Tree

One of the challenges given to Flowerpatch Quilters members before lockdown, when we anticipated having our yearly exhibition in 2020, was to sew a 5" x 5" square with the title of either "In the Tree" or "Under the Tree". The only stipulations were that the "Ins" should have a blue background and the "Unders" should have a beige or brown background and they should not have a binding on the edge. The resulting squares were displayed at our recent exhibition.

Here are some pictures of those which have more detail.

In the Tree

Under the Tree

I loved doing this!!

Happy Stitching

Anita x

Monday, 22 August 2022

Quilts (3) - Flowerpatch Exhibition 2022

I'm really enjoying having a second look at my Flowerpatch friend's quilts which were in our recent exhibition. It's not the same as seeing them hanging, but in a photo you can sometimes notice things that you missed.

This is Annie's wall quilt - "Beeloved" and there is so much detail in this with lots of bee themed fabrics. Annie is a bee keeper and she loves her bees ....... most of the time!

Here is Liz's "365 Kathryn Kerr Challenge". Liz said that the 6" blocks were fine, but the 3" were certainly a challenge! A bed quilt beautifully quilted by Sandy Chandler.

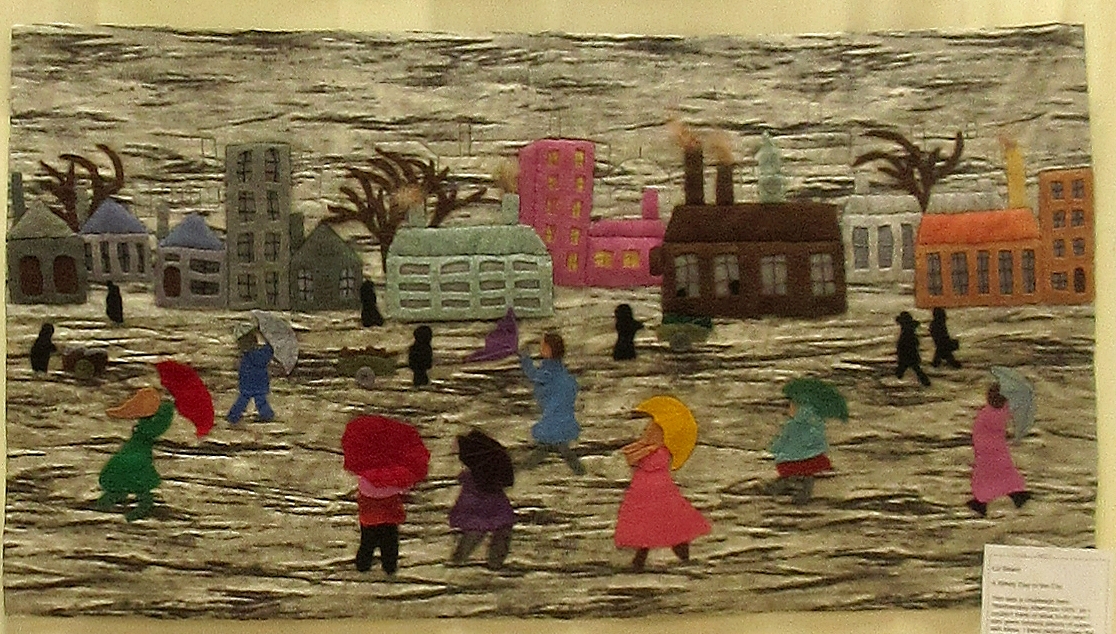
and Liz's "Windy Day in the City". Another challenge, but this time set by her friends. A wall hanging with the two themes of Lowry and umbrellas.

This is Dawn's "Remember Paris" - Her interpretation of the rose window in Notre Dame Cathedral. She started making this after a surprise visit to Paris in 1994 and finished it during lockdown!!! Is this a record?? :)

This is a quilt made by Dawn, Phyll, Brenda, Ann, Sheila and me - "Ruby's Quilt". We named it after a dear quilting friend who we remember with great fondness. Many of the embroideries are adaptations of Lynette Anderson designs and Dawn designed the lovely embroidered border.

Iris M was another Flowerpatch member who decided that lockdown was a good time to finish off  her many sewing projects. These four wall quilts are months of the year with others to follow. From  left to right and top to bottom they are August - Sunshine & Rain, January - Frost, September - Apples and December - Christmas.

and Iris M's "Windmills" - a cot quilt

Lois made two child's quilts like this one. The first for her grandson Ezekiel who loves anything with wheels, and another to donate to the Linus Project. She backed them both with fleece for extra cosiness.

and this is Lois's wall hanging "The Curate's Garden".

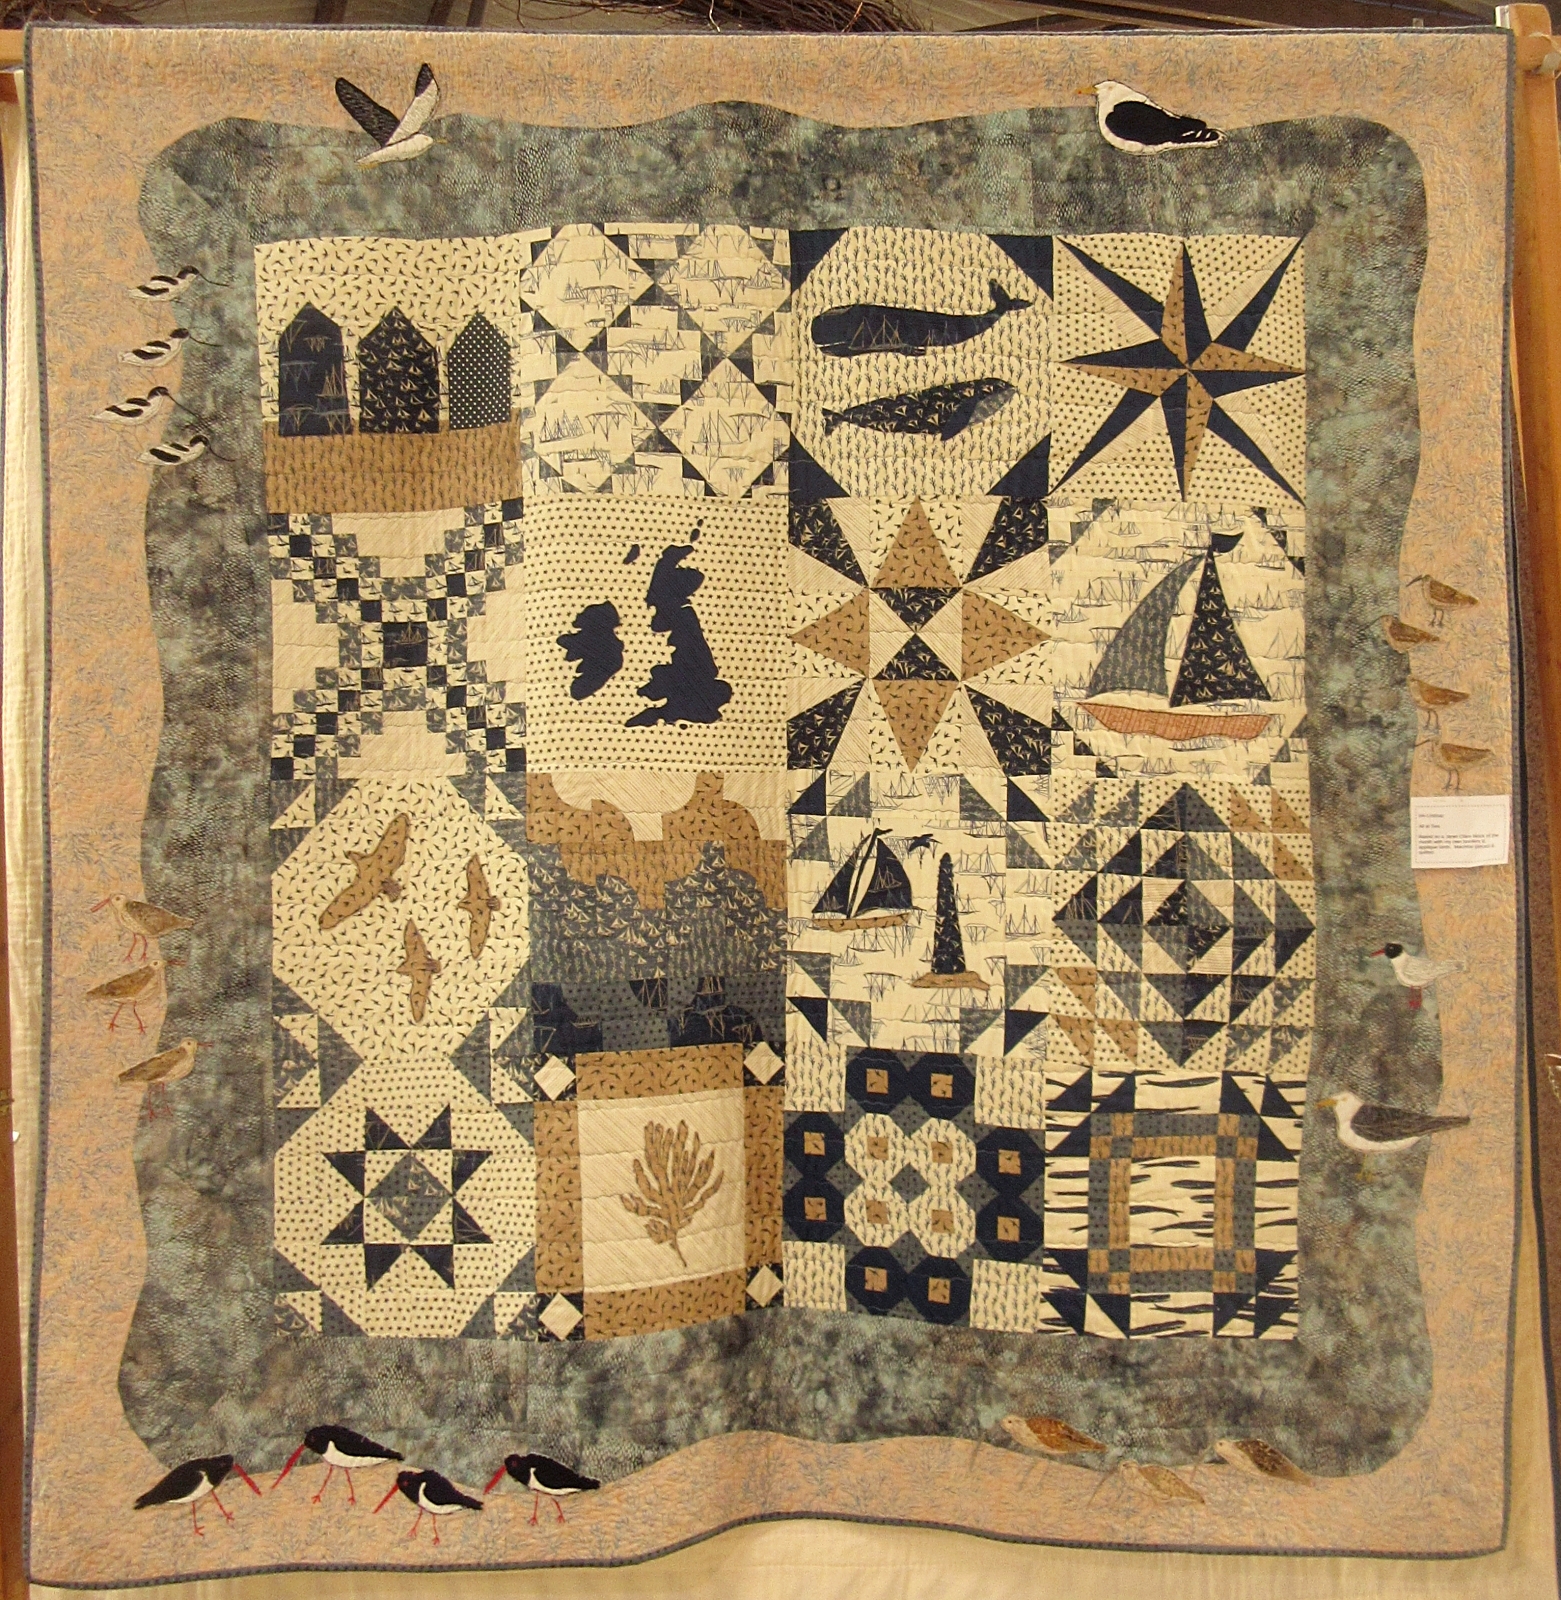
Iris L had many lovely quilts in the exhibition and it was hard to pick just two to show you. These two are my favourites: "All at Sea" which is based on a Janet Clare block of the month, with applique sea birds in the border

and Iris L's "Housey Housey" based on her own house and some dream houses.

I haven't shown any of my own entries in the exhibition as they appear in previous posts in this blog ..... except for this little wall hanging which I finished sewing the evening before the day when quilts had to be hung! This is "Holiday 1959" and depicts my family at the caravan park in Walton-on-the-Naze, where we went most years in the 1950s. Happy memories.

Well, I hope you have enjoyed the walk through of our Flowerpatch exhibition 2022 in my last four posts.

We start our next quilting year very shortly on Thursday 8th September 2022 at Cowslip Workshops, nr Launceston. The meeting starts at 7.30pm. Please do come along if you think you might like to join us.

Happy Stitching

Anita x


Thursday, 18 August 2022

Quilts (2) - Flowerpatch Exhibition 2022

More photos from our recent Flowerpatch Quilters exhibition.

This is Karen's "Wandering Ways" - a double bed quilt

and her "Squash Squad" - a Sue Spargo design

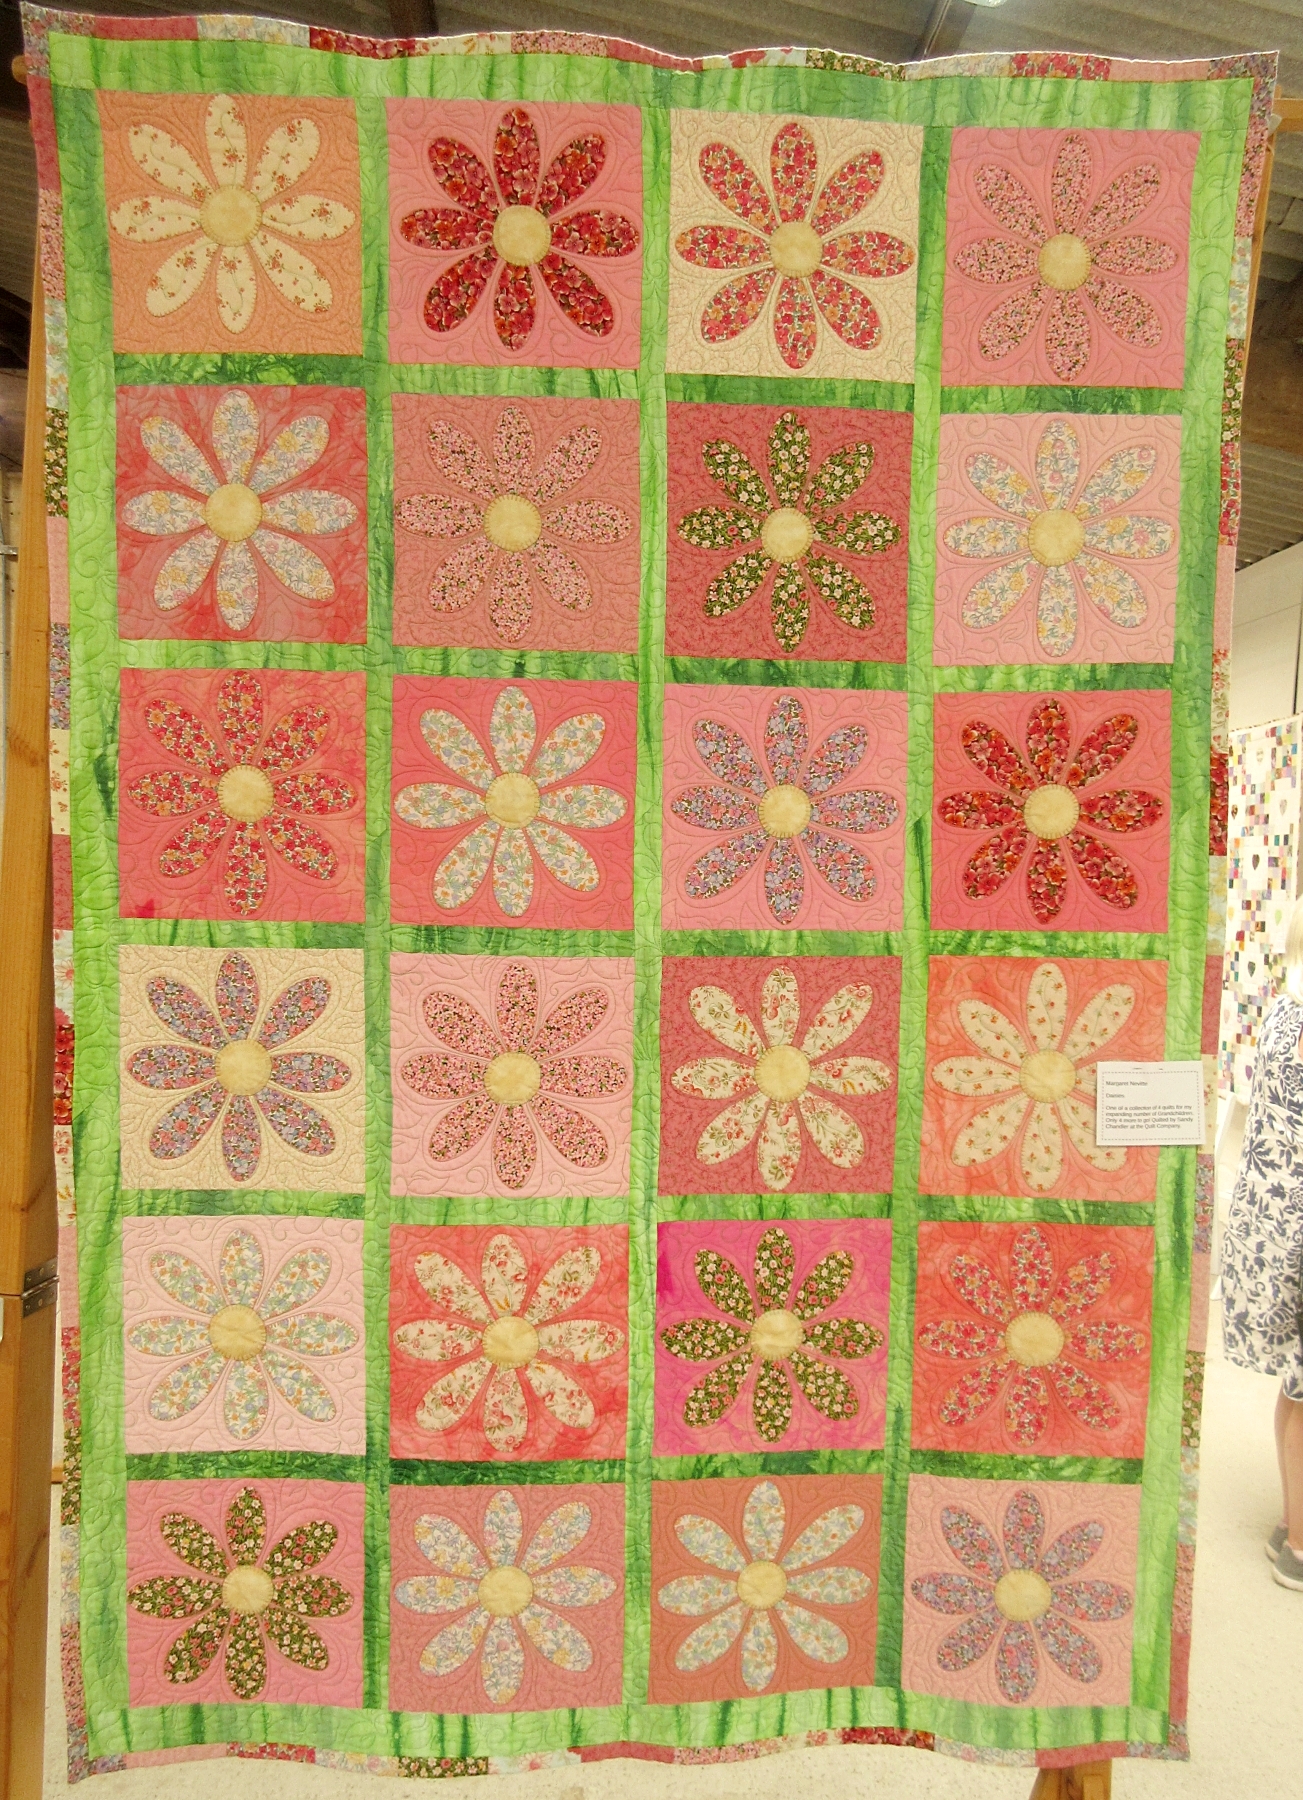
Two of Margaret's bed quilts made for her grandchildren. The first is "Butterflies"

and this one is "Daisies"

This wall quilt, called "All  Aboard", was made by Chris. She really enjoyed the challenge of sewing the different sized blocks together.

Here is Ellen's "Scrappy Flower" - a play mat for an expected baby girl. Ellen quilted the background before sewing the flower petals on.

Finally, two by Elizabeth - "Totally Scrappy Lockdown Busyness"

and "The End of the Lilac Road ". Elizabeth says that she has finally used up all the lilac fabric that she bought for her last two lilac coloured quilts!! Can she resist making another in this colour? :)

Yet more quilts in my next blog post.

Anita x

Monday, 15 August 2022

Quilts (1) - Flowerpatch Exhibition 2022

 Here are pics of some of the quilts in our recent Flowerpatch Quilters exhibition. I was a bit random in my photograph taking so this is by no means all of the entries.

This is Melody's "Estela"


and her "365" quilt designed by Katherine Kerr - each block is different. It was a one block a day for a whole year challenge!


both of these are bed-size quilts and were machine quilted by Sandy Chandler

This is Cherrie's "All the Colours of Life" made for her Mum's 90th birthday

and her "Stars for Auntie Muriel" - Cherrie says 'it is bright, colourful, fun and sparky, just like her personality'


Here is Anita H's "Painted Ladies". Anita has made two quilts for her daughter in law, in the same design, but with some differing fabrics.

and Anita's lap quilt - "Better than a Fur Coat"
This is Pippa's bed quilt  - a hand pieced sampler designed by Carolyn Forster
and another "Stars and Pinwheels Strawberry Thief" designed by Sally Ablett.
Anne's quilted throw is called "Crazy Seasons" and has lots of embroidery details.
Many more exhibition quilts to come in my next post.
Until then
Happy Stitching - Anita xx

Thursday, 11 August 2022

Pics from Flowerpatch Exhibition 2022

What a super week last week when we held our Flowerpatch Quilters exhibition in the barn at Cowslip Workshops. Lots of visitors and so nice to see so many friendly familiar faces. The barn is a new venue for us so it was exciting, and a tad scary, for us.

Here are just a few views of the exhibition layout to whet your appetite, with pics of some individual quilts to follow in my next posts.

We were thrilled to have so many large quilts to show

and smaller ones, too

We had a "Living in the Country" corner where we could hang past work as well as some new

and a cushion area

Finally Jane and Barbara did some wonderful flower arrangements to compliment the quilts, on a very busy / frantic Monday set-up day.

More pics next time - Anita x