
So at Flowerpatch Quilters meeting last Thursday we PRACTISED reverse applique by sewing this heart within a ring.

* We had a 6" square of calico for the top fabric and a 5½" square of coloured fabric beneath.
* We traced the design onto the calico using a Frixion or other erasable marker, or a very sharp pencil, shading in the pattern where the coloured fabric will show. This is handy to do if your design is a bit complicated as you don't want to be cutting in the wrong area.
* We made a small snip with sharp pointy scissors in the shaded areas. This makes it less likely that you'll cut through both layers when you put the fabrics together.
* After putting the calico on top of the coloured fabric, making sure that the design was within the latter's edges, we tacked around the shaded areas leaving space for turning under the edge of the calico.
* We cut through just the calico in the shaded areas leaving a scant ¼" of calico to turn under.

* We cut small snips into the inner curves almost to the line - more snips for tighter curves.

Now I know you'll have your own way of tackling the sewing - as we did at the meeting, but this is how I approach it.
Start with the outer circle and fold under a small section of calico until the line is on the fold and hold it in place with your thumb. Using thread that matches the calico in colour, and with a knot in the end, bring the needle up from the back, just catching the fold.

Put the needle back down through the coloured fabric only and right next to where you came up.

Bring the needle back up a little way along the fold and through the edge of the fold. .............. repeat.
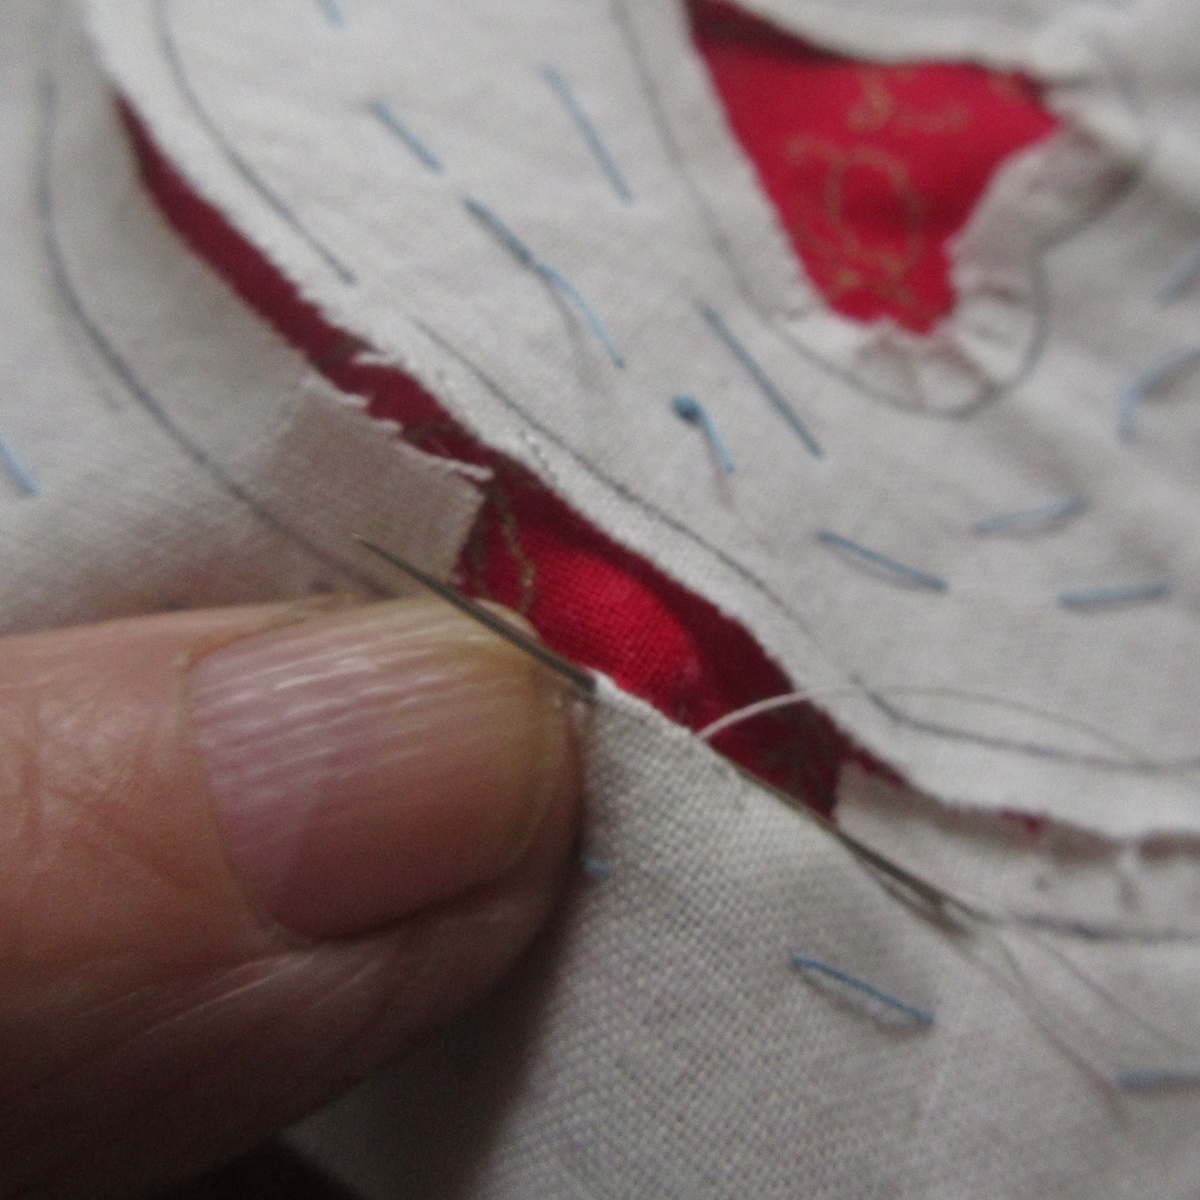
Just concentrate on the bit of edge that you're working on, trying to keep the drawn line on the fold. Don't worry about what might be coming up next!
For the HEART - snip the curves and then start you're sewing along a straightish edge.
At the bottom point you'll need to snip right to the line. Sew to this point then do a couple of stitches in place. Don't try and sort out the next fold until you've done this.

Similarly at the top point - sew to it, do a stitch in place, then sort out the next fold.
When all is done you carefully cut away the excess fabric on the back.

And this is the design simply quilted.

Here is a link to a printer friendly one page PDF of instructions
Practising Reverse Applique
Well, I'm off to do some more PRACTISING - after seeing those close up pics of my stitches I think I need it! - Anita x
Next Flowerpatch meeting is on 11th October when we will have a talk by Trudy Sherwood about the charity Guide dogs for the Blind and also a show and tell by our committee. It's the AGM and "Painters" of Liskeard will be joining us. Another interesting and busy evening!
No comments:
Post a Comment