
Well the weather has been pretty awful even though it's supposed to be Summer time, and the exhibition is looming so I thought I would finish a few things off using different methods to hone my meagre skills. I'm going to list some of these with links to tutorials that I've found really useful.
Simple zigzag edge

I thought that this would look OK for some of the little harbours that we did at Flowerpatch as they are raw edge applique, but even this idea left me in a bit of a quandary. For the first one I marked the edge where I wanted to sew, did the zigging and zagging, and then trimmed off the spare fabric as close as I could to the stitches .... scary! The second I tried cutting to size first and then doing the zigzag ....... what a chewed up mess, so I decided the first method was best.
Bringing the backing to the front

If quilting by hand and you can trim the front and wadding without cutting into the backing, or if you're adding an extra backing to a small quilt, you can trim the backing to ¾" larger on each side than the finished quilt, fold it over, then over again to cover the quilt edge, and slip stitch in place. The corners can be finished simply as I have, or mitred....... if you're cleverer!
Binding with simple corners

The binding is sewn to two opposite edges of the quilt and finished off by slip stitching to the back, trimming the ends to be flush with the quilt edge. Then binding is sewn to the other two edges being sure to leave approx 1" of binding beyond the corners of the quilt. This is folded in and manipulated to neaten the corners - not too bad if your binding fabric isn't too thick.
Binding with mitred corners

This is the method that I have used most often and have written a tutorial about............ but I have now discovered another way which I think gives neater and more consistently good results:

This is the No Tails Binding Tutorial by Flourishing Palms
Non-binding binding
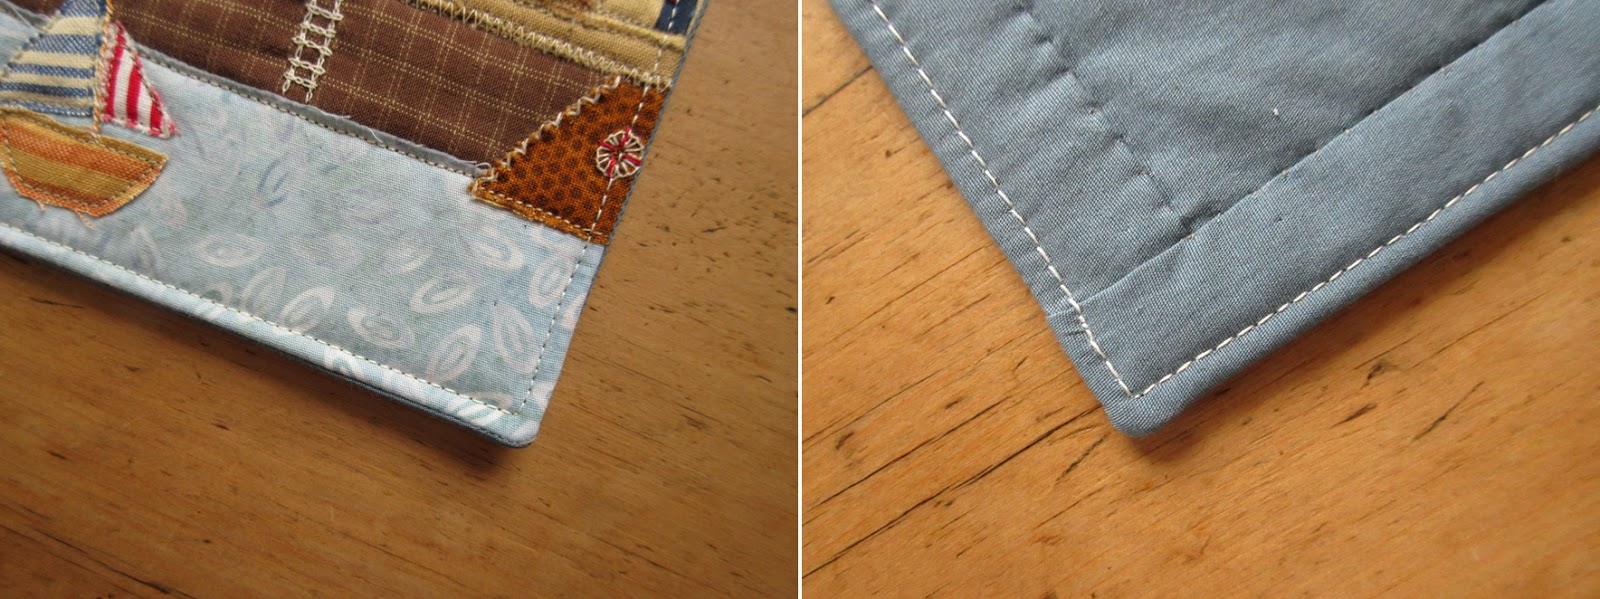
This is the one to use when you want your patchwork to extend right to the edges of your quilt with no visible binding .... and it's easy. This is Victoria's Super-duper easy way to face a quilt tutorial. I really like the way Victoria sews across the corner before she trims it. On my little harbour above I added a line of machine top stitching close to the edge.
Well that's quite enough difficult stuff for a while ... I think I'll get back to hand sewing a few hexagons together! - Anita x
No comments:
Post a Comment